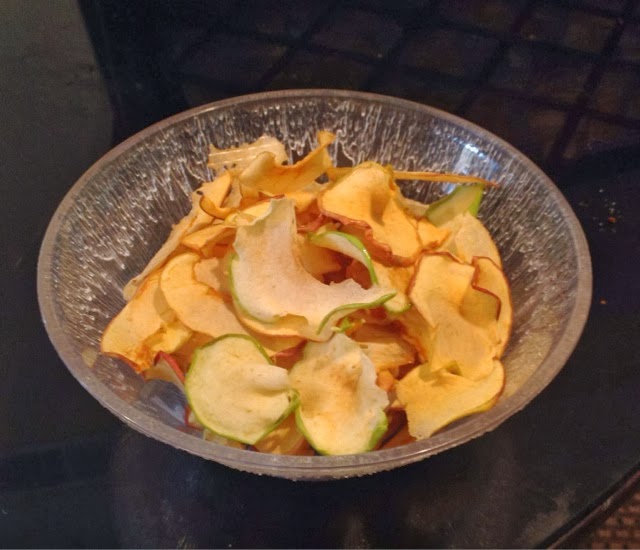
WARNING!!! Before I get to the good stuff a little word of advice. DO NOT use your dehydrator on top of glass. To some it may be an obvious no-no, however, I was just so excited about using my dehydrator that I did not think about it and set it on the kitchen glass table dehydrating my fruits all night long for 14 hours. Somewhere between hour 10 and 13 the glass broke. Now when I mean break I don't mean a tiny crack, it completely split apart. So in the future avoid my mistakes and set your dehydrator somewhere heat resistant.
Alright so now to the good stuff :)
MATERIALS: Obviously a dehydrator, apples, a corer and a sharp knife.
STEP 1: Choose your apples wisely. Some apples are sweeter or more sour than others. In my experience, I like a mixture of apples so there is a variety of flavors and the chips are not overly sweet or sour. For my chips, the apples I used were: Kanzi, Fuji, Granny Smith, Gala, Jazz, HoneyCrisp and Golden Delicious.
STEP 2: Wash your apples and use a corer to remove the core of the apples. I suggest doing one at a time since the apples do oxidize. Place the corer directly over the stem and push all the way down. Pull the corer back up and the entire apple core should come along with it.
STEP 3: Use your shark knife and cut the apple into very thin slices. The thinner the slices, the crunchier your apple chips will be :)
STEP 4: Place all your slices in the dehydrator trays. Space them out so they are not touching each other or else they will get stuck to one another.
STEP 5: Using the drying guide you can see what temperature you need to set your fruit on. For fruit, it needs to be 135 degrees and select 14 hrs for the timer.
STEP 6: (14 hours later). Take out your trays. Your apples should look smaller and they might be a bit soft but that's because of the heat. Once they cool down they will get crunchier.
STEP 7: Take those bad boys out and enjoy!


No comments:
Post a Comment