Monday, February 24, 2014

Apple Chips


Alrighty so for Christmas I got an awesome gift from my mother-in-law, a dehydrator! I got the 5-Tray Excalibur w/Timer and let me tell you it is A-W-E-S-O-M-E! On occasion, I decide that I am going to eat healthy and I love making apple chips as a healthy snack to keep those hunger cravings away. Below are a couple of pictures of the dehydrator :)


WARNING!!! Before I get to the good stuff a little word of advice. DO NOT use your dehydrator on top of glass. To some it may be an obvious no-no, however, I was just so excited about using my dehydrator that I did not think about it and set it on the kitchen glass table dehydrating my fruits all night long for 14 hours. Somewhere between hour 10 and 13 the glass broke. Now when I mean break I don't mean a tiny crack, it completely split apart. So in the future avoid my mistakes and set your dehydrator somewhere heat resistant.


Alright so now to the good stuff :)
MATERIALS: Obviously a dehydrator, apples, a corer and a sharp knife.


STEP 1: Choose your apples wisely. Some apples are sweeter or more sour than others. In my experience, I like a mixture of apples so there is a variety of flavors and the chips are not overly sweet or sour. For my chips, the apples I used were: Kanzi, Fuji, Granny Smith, Gala, Jazz, HoneyCrisp and Golden Delicious.


STEP 2: Wash your apples and use a corer to remove the core of the apples. I suggest doing one at a time since the apples do oxidize. Place the corer directly over the stem and push all the way down. Pull the corer back up and the entire apple core should come along with it.


STEP 3: Use your shark knife and cut the apple into very thin slices. The thinner the slices, the crunchier your apple chips will be :)


STEP 4: Place all your slices in the dehydrator trays. Space them out so they are not touching each other or else they will get stuck to one another.


STEP 5: Using the drying guide you can see what temperature you need to set your fruit on. For fruit, it needs to be 135 degrees and select 14 hrs for the timer.


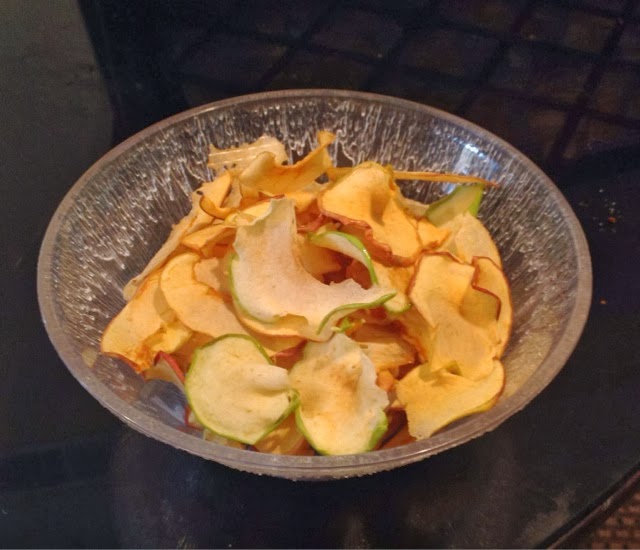
STEP 6: (14 hours later). Take out your trays. Your apples should look smaller and they might be a bit soft but that's because of the heat. Once they cool down they will get crunchier.


STEP 7: Take those bad boys out and enjoy!


Thursday, February 6, 2014

DIY Photo Canvas


Ok, so I wanted to do a project that would be a suuuuper cheap Valentines Day gift. I looked around and priced how much it would cost to do a photo canvas. For a 16x20 photo canvas (the size photo canvas on top) the cheapest I found was at Costco for $37.99 and the most expensive was at Snapfish for $79.99. I found a way to make a cheaper one at a fraction of the price. Now it's not that I'm a cheapskate but this project was to show that you can give a gift that looks expensive and actually not spend so much money. I did two photo canvas, a 16x20 and an 8x10. 

I went to Michaels and bought a 8x10 canvas and used a coupon for 40% off. You can print out this coupon by going to Michaels.com and looking at the weekly ad. They have other types of coupons such as 20% off the entire purchase. I then selected the picture I wanted to use for my project and printed it out at Walgreens.com. I then found a coupon for Walgreens for 40% off any photo. You can always find coupons for Walgreens photos on the Walgreens website. In total I spent less than $10 for this project. For the 16x20 canvas I spent less than $20.

Materials: Canvas, photo, mod podge, 2 foam brushes, black craft paint, scissors or X-acto knife.


Step 1: Using a foam brush, paint the sides of the canvas with whatever color of your choosing. I chose black since I chose a black and white photo. I also painted a bit over the edge on the front so when I glue the picture the edges of the photo will blend onto the black canvas. Do one layer first and once it dries you may decide to do a second layer or leave as is.


Step 2: Take the picture you printed out and measure it against the canvas. Even though the size on both is 8x10, because of the edges of the canvas, the photo will not fit perfectly. Use either scissors or an X-acto knife to trim the edges a bit until you feel satisfied that it fits perfectly within the canvas.

Step 3: Using the second foam brush, dip it in mod podge and brush it onto the front of the canvas where your photo will go. Cover the entire front and then set the photo on top of the canvas and center it. Turn the canvas upside down, apply pressure on the edges for a couple of minutes to allow the front to dry.


Step 3: (Optional) Once the photo is dried you can brush on a layer of the mod podge on top to give the photo some texture and so it will have more of a matte look.


At an angle you can see the texture from the mod podge.

Step 4: Let your canvas dry and prop it up somewhere to show it off or give it to a special someone as a Valentines Day gift :)